Building a Raised Image with Cardboard
|
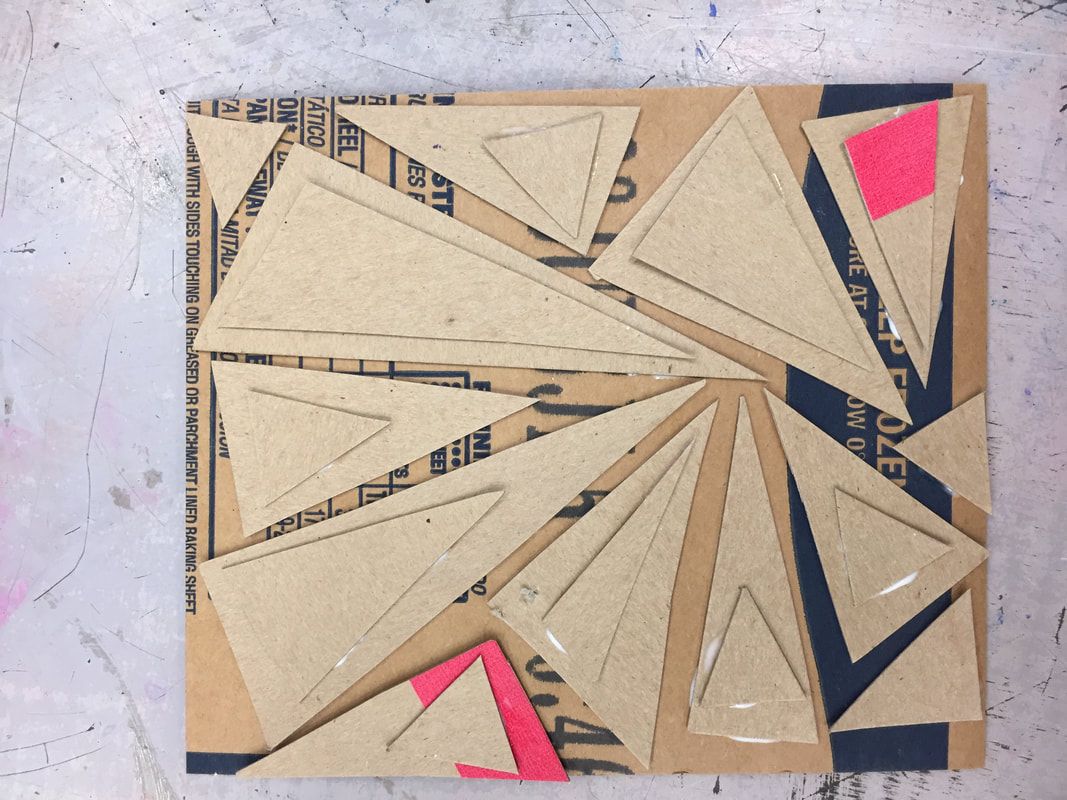
Begin by creating a raised image by layering cardboard. You can make this image in the subject of your choosing- with a lettering design, as a landscape, forming a face, a logo design, a random geometric design, etc.
|
Materials Needed:
|
Steps:
- Develop design
- Cut a rectangle or square for the base. (All pieces get attached to this.)
- Cut pieces of cardboard and layer then on top of the base to form an image. It works best to have no more than two raised layers on top of the base. You can vary the thicknesses of the pieces of cardboard you are cutting- thicker pieces for larger shapes, thinner for details or more complicated shapes.
- Glue all pieces of cardboard to the base.
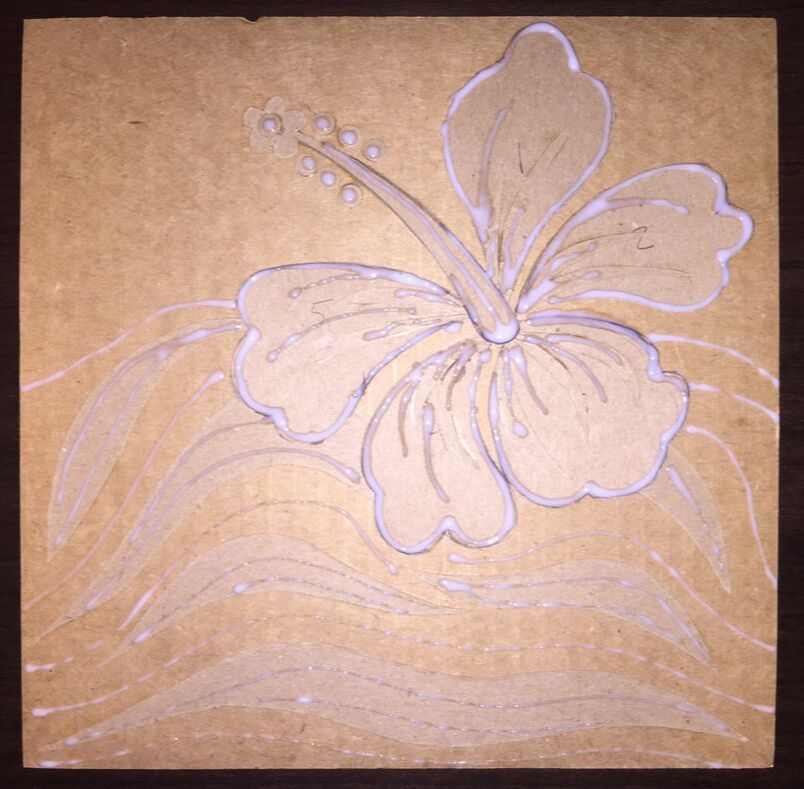
- (Optional) Add detail with lines and dots of liquid glue.
- Let dry completely.
(Notice the design on your cardboard doesn't matter. It will be covered or not seen on your finished artwork.)

|
|
|

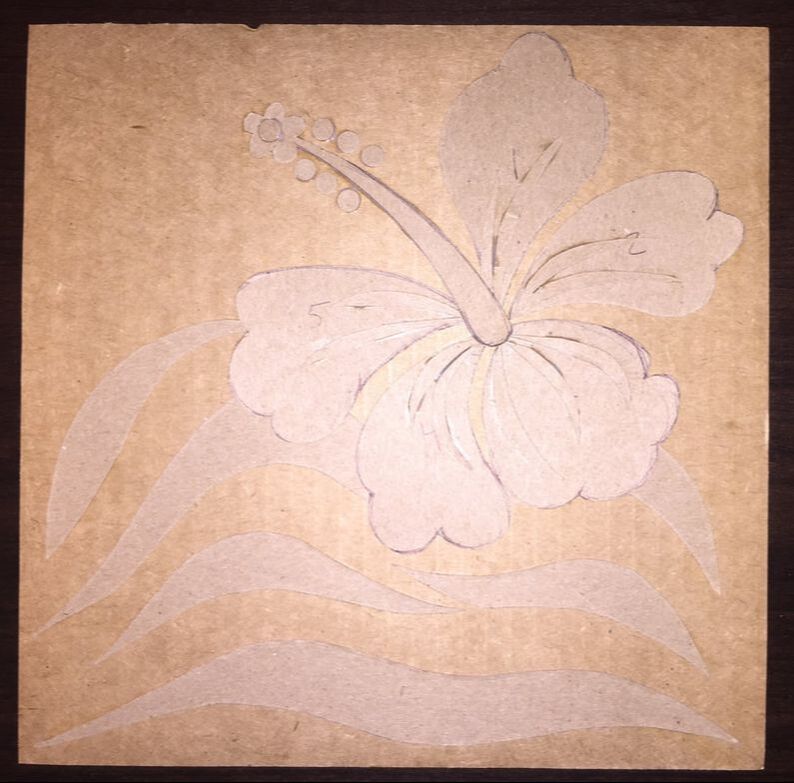
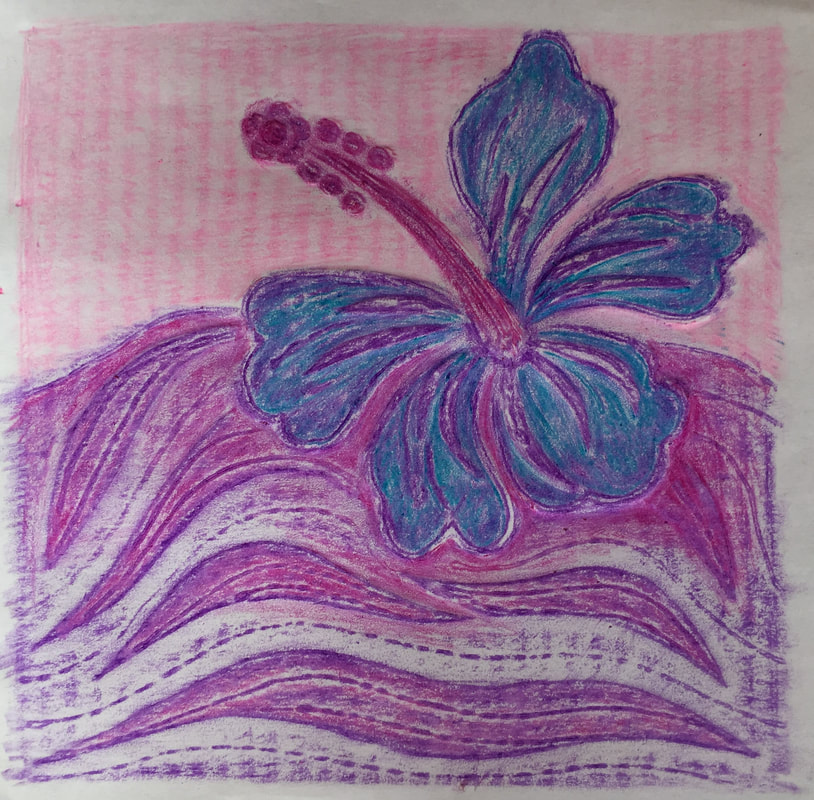
Wouldn't it be nice to be somewhere tropical instead of isolating in our homes? I was inspired by a trip to Hawaii I took with my sister and mom in 2014. I chose to draw a hibiscus flower and included waves in the background.
Below are two options to create a more finished-quality piece using your raised cardboard. You could do both if you began with Option 1 (printmaking) and then completed Option 2 (foil relief)
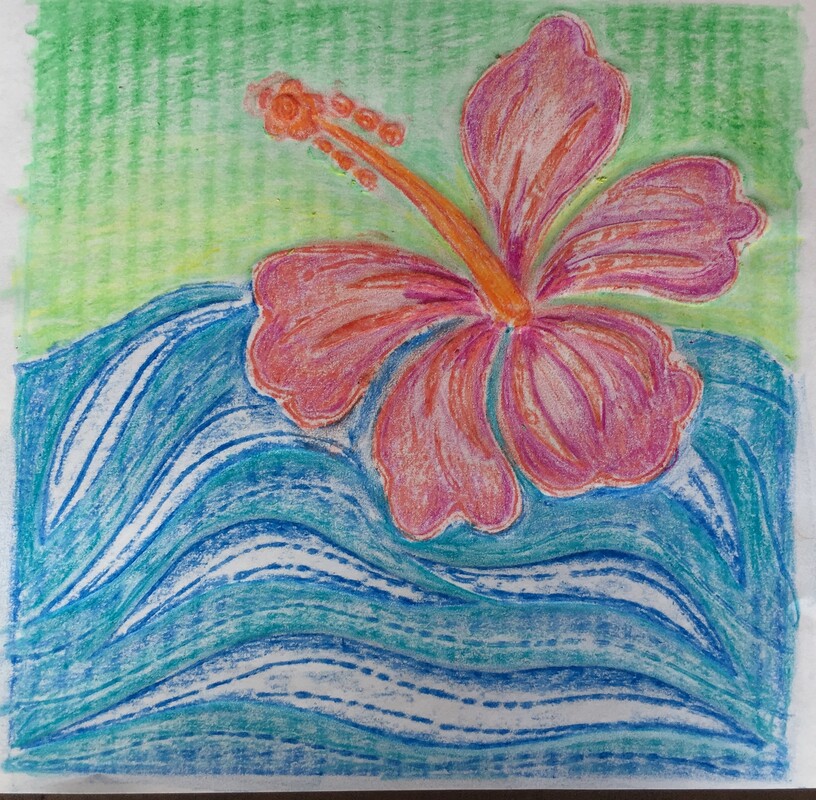
Option 1: Printmaking- Crayon Rubbing Monoprint
|
Make a crayon rubbing. This is considered a monoprint- a one of a kind printed image.
Steps:
|
Materials:
|
|
|
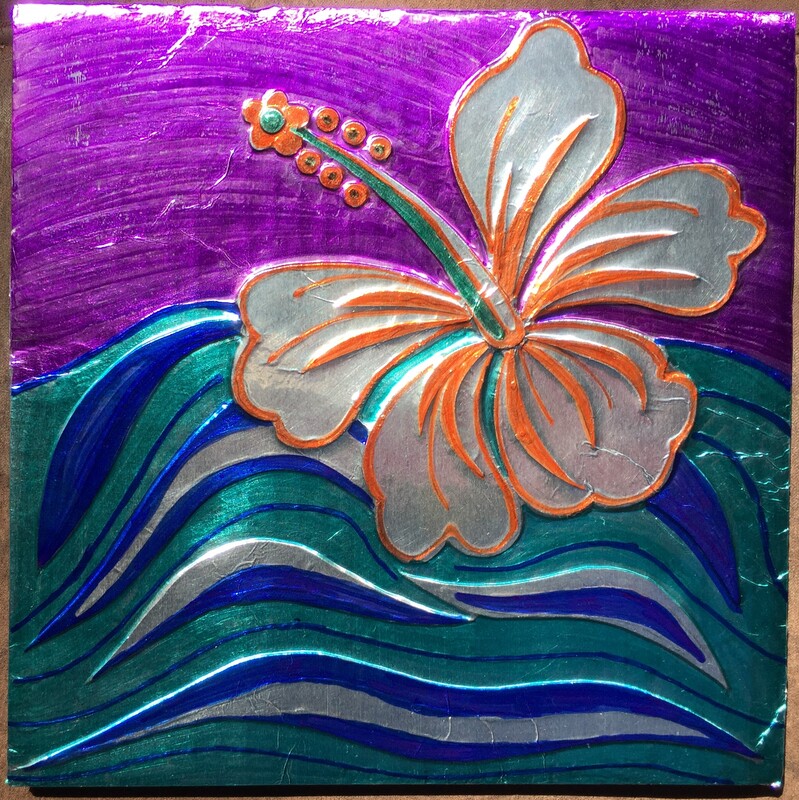
Option 2: Foil Reliefs
|
A relief is a one-sided artwork with a raised layer. Here, your cardboard with the raised surface becomes the final work of art after it has been covered in foil and colored.
Materials:
|
|
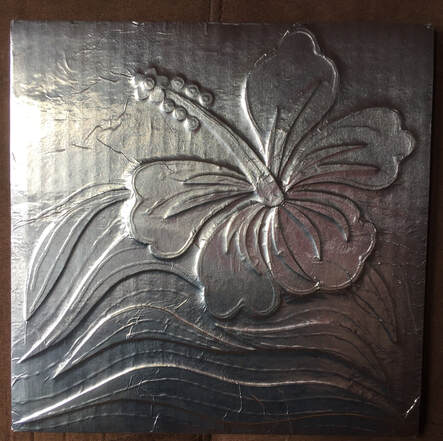
Here you can see the cardboard has been covered in foil. The design is still visible because I have pressed/smoothed into the foil with fingertips.
|
Steps:
|
